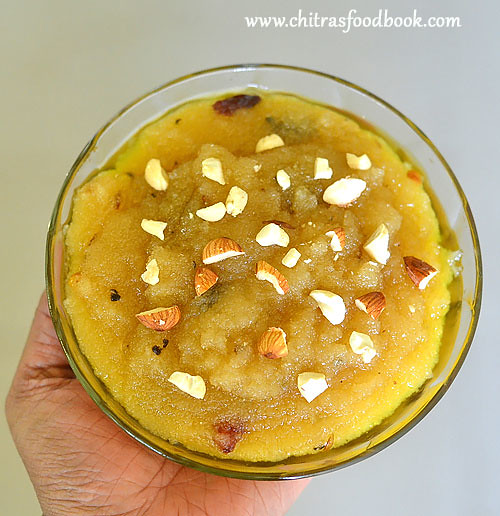
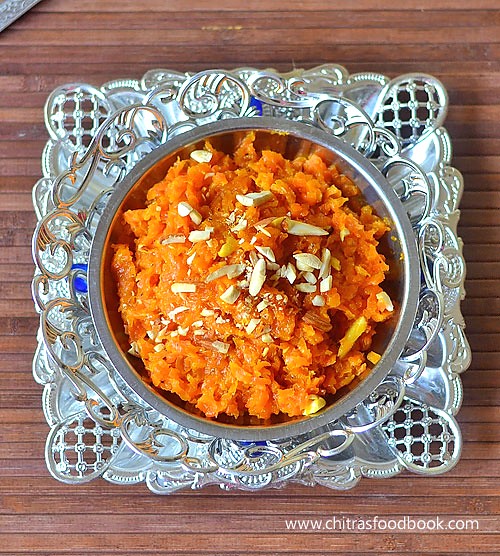
Carrot halwa recipe with step by step photo and a video ! Carrot halwa (Gajar Ka halwa In Hindi) is one of the most popular Indian desserts that is loved by all. Long back I had shared “How to prepare carrot halwa in pressure cooker”. That’s my go-to recipe for making easy and quick carrot halwa. Yesterday for a change, I prepared this traditional method of making carrot halwa in a kadai by using milk,sugar and ghee. I offered it as prasadam for my Friday Lakshmi Pooja. For making carrot halwa, Delhi carrots are mostly used by North Indians whereas I made it with our South Indian orange carrots(Ooty carrot). Traditionally it is prepared in a big iron kadai but I used my non-stick kadai that suits my Induction stove as I wanted to make a video recipe as well. So there are mild deviations from the perfect traditional ones but this one tastes and looks equally good. I have not used condensed milk ( Milk maid) Or Khoya/ mawa. So the preparation time and cooking time takes a bit longer that pressure cooker version. Still the final result makes you forget all the pain .Lets see how to make carrot halwa/ Gajar Halwa at home with step by step photos and video !!
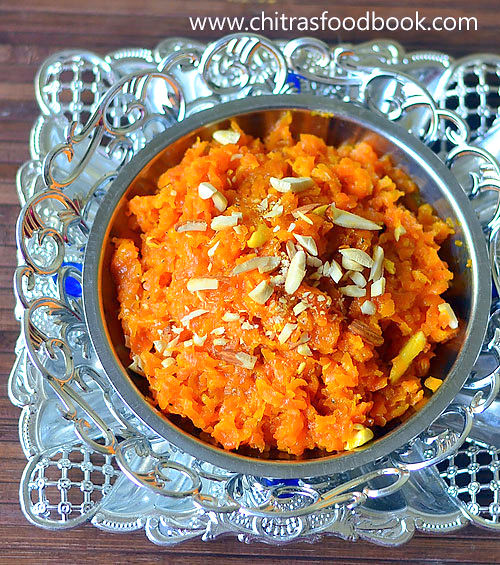
Carrot Halwa Recipe - Gajar Ka Halwa
How to make carrot halwa - Gajar Halwa Recipe using milk
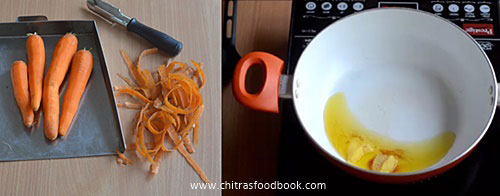
Wash and peel the skin of carrots. Grate it using a big sized holes grater.Do not use a small hole grater because halwa turns mushy and the end of cooking.Grate and keep in a plate.
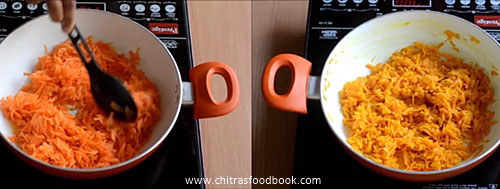
In a kadai, heat 2 tbsp ghee and add the grated carrot.Saute well till the raw smell goes off and color of carrot changes to pale orange. It takes nearly 3-5 minutes.
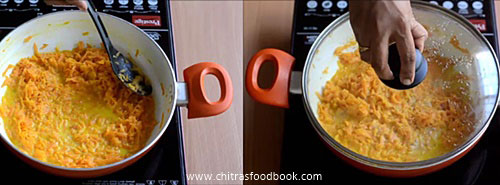
Now add 1 cup of milk and mix well.Keep the flame medium and cover the kadai with a lid. Carrots get cooked in milk. Wait till all the milk is absorbed by the milk. Open the kadai every now & then, stir till bottom to avoid burning. Cooking takes nearly 10-15 minutes.
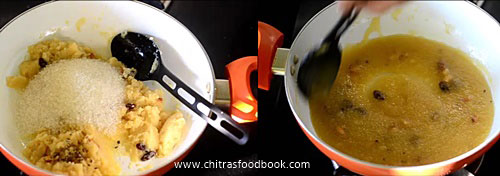
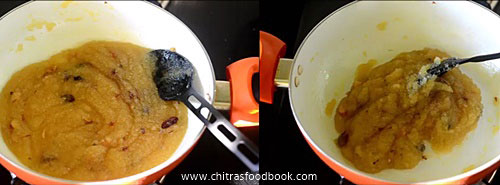
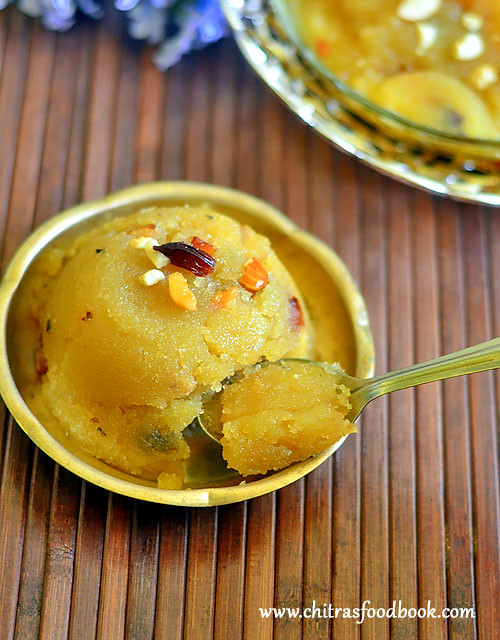
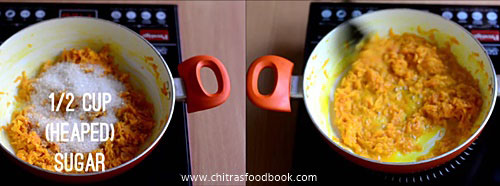
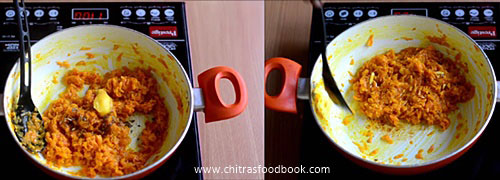
Now add 1/2 cup (heaped)sugar and mix well. Sugar melts and mixture will become watery.Check for taste and add 2 tbsp more sugar if needed. Keep the flame medium and keep stirring till 3/4th of the moisture is lost. When the halwa becomes thick and starts to leave the sides of kadai, add cardamom powder, 1tbsp ghee and mix well. When the halwa becomes thick, gathers in the center with very little moisture, remove it and sprinkle chopped nuts. Serve warm with ice cream or cold !
** Do not stir the halwa for long time to become thick & dry because when the halwa cools down, it will become hard & chewy.So remove it when there is very little moisture content. This halwa can be refrigerated and stored for a week.Reheat in a microwave for 1 minute and serve warm if needed.
Enjoy !
Note
Add more sugar ( 2 tbsp extra) for more sweetness.Sugar can be added any time while cooking carrot halwa.
You can use Delhi carrots instead of the regular orange carrot for bright color.
Serve warm with your favorite ice cream to enjoy its best taste !
Enjoy this delicious carrot halwa with a scoop of vanilla ice cream. Its a blissful combo !!
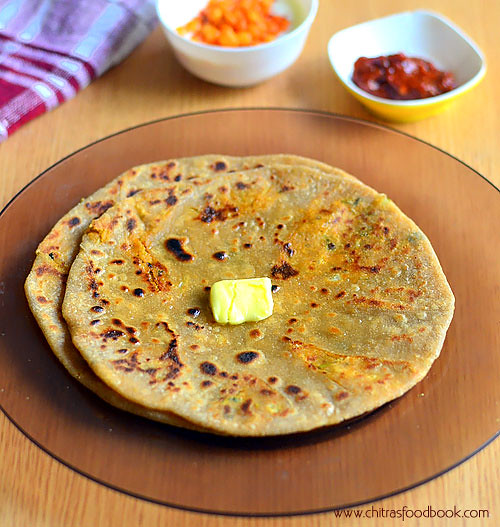
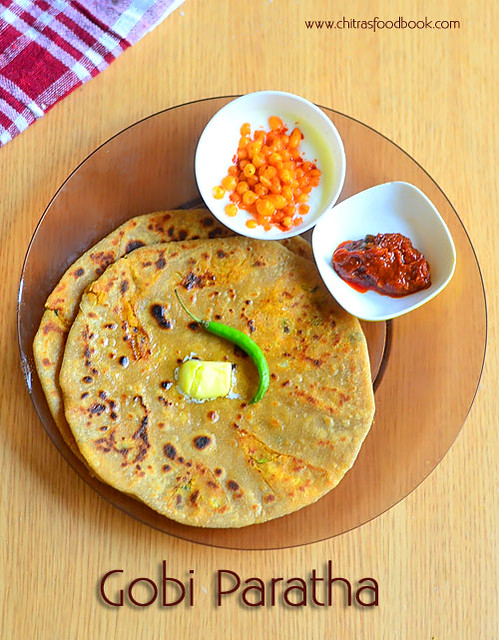
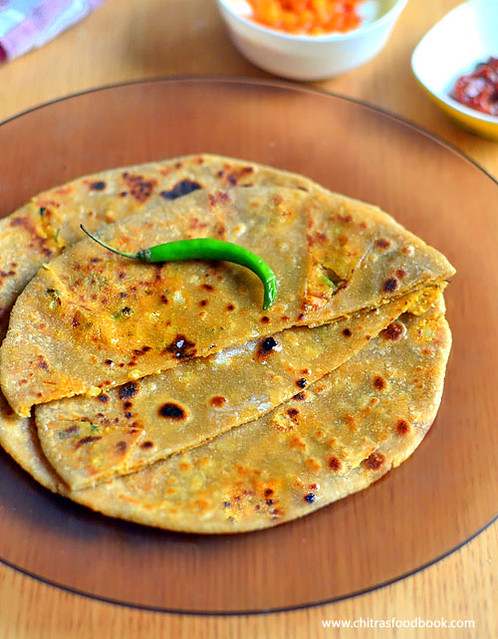
Gobi Paratha is Sendhil’s most favorite Paratha recipe. After marriage he took me to In-swing restaurant in BDA complex, Banashankari and got this cauliflower paratha for me as he loves it very much. That’s the first time I tasted a stuffed paratha in my life.He told me to try the same at home. As I was a beginner in cooking, I did not have any idea about the stuffing part, how to roll paratha etc. When I tried it, all the stuffing came out while rolling and the paratha became a disaster. Still he appreciated me for my attempt and ate well. And that’s my man. Now after so many years of cooking, I can make a good gobi paratha for him.So I wanted to share this recipe in my blog with step by step photos and a detailed video recipe to help beginners. You can try this yummy paratha recipe for dinner or lunch box. Even Kids would love this paratha if you cook it adding ghee or butter. It comes out soft and stays good for hours. Lets see how to make Gobi paratha/Cauliflower paratha at home easily !
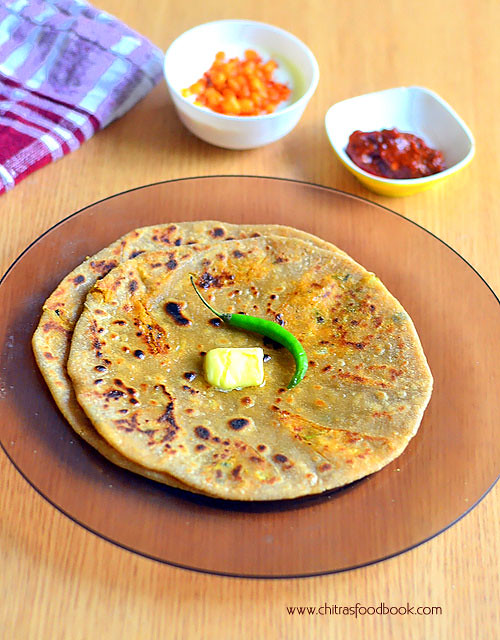
Gobi paratha recipe/ Cauliflower paratha recipe
How to make gobi paratha/Cauliflower paratha at home with step by step photos and video !
Cauliflower - 1 no or Grated cauliflower - 1.5 cups
Cooking oil - 2 tbsp
Green chilli - 1 no ( finely chopped)
Grated ginger - 1 tsp
Ajwain/Carom seeds – 1 tsp
Red chilli powder - 1 tsp
Dhania powder/coriander seeds powder - 1 tsp
Garam masala powder - 1 tsp
Cumin seeds powder - 1/4 tsp
Turmeric powder - 1/4 tsp
Aamchur powder - 1/4 tsp ( optional)
Coriander leaves - 2 tbsp. ( to garnish)
Salt - as needed
METHOD
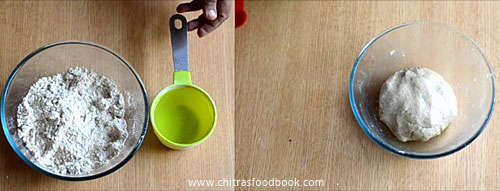
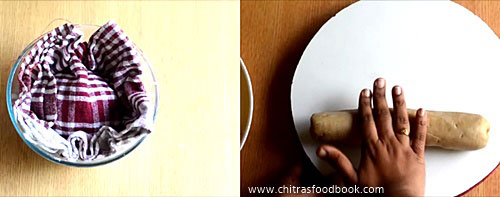
In a wide bowl, take the wheat flour, add required salt and 1/2 tbsp. of cooking oil. Mix well. Add water little by little and make a smooth, non-sticky dough.Knead well, apply a tsp of oil and cover the dough with a dry cloth, leave it for 20 minutes. In the mean time, lets prepare the stuffing.
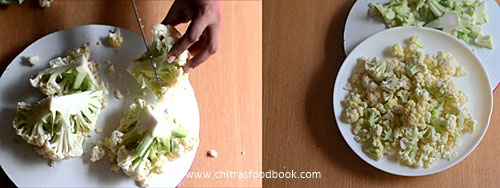
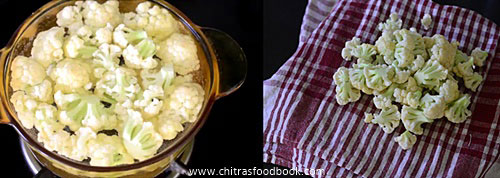
Take the cauliflower and remove the leaves, cut into 4. Remove the stem part and separate the florets in a plate. In a wide bowl, boil water and add the florets. Boil for few minutes, parboil and drain the excess water. Remove the half cooked cauliflower florets to a dry kitchen towel/cloth. Pat it dry.
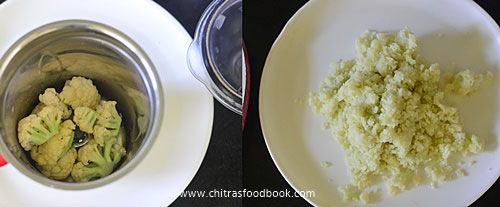
Grind the florets in a dry mixer jar without water. Wipe the sides of jar and grind in batches. You can also grate it. But grinding is easy. Take in a plate.
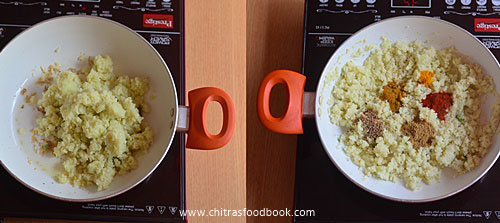
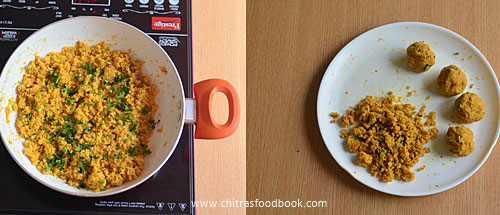
Heat oil in a kadai and when it gets heated , add the finely chopped green chilli, grated ginger (If u wish u can add very finely chopped onions at this stage) and saute well. Add the grated cauliflower, salt, red chilli powder, dhania powder, cumin powder, garam masala powder,aamchur powder and ajwain. Mix well till all the moisture is absorbed. Let the mixture cool down.Divide the stuffing into lemon sized balls.
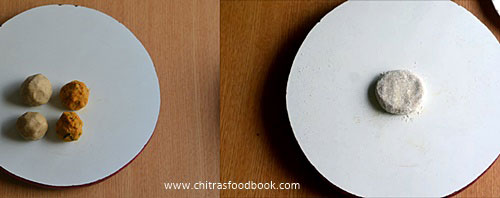
Take the chapathi dough and make lemon sized balls. The size of dough ball & stuffing ball should be equal.
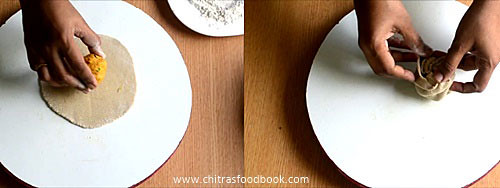
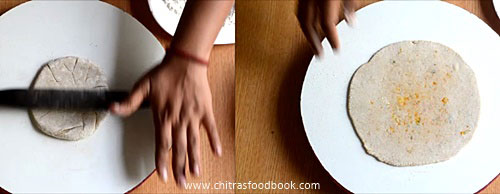
Take one dough ball, dust it in wheat flour and roll into small poori size.Make the corners thinner than center. Keep the stuffing ball in the center and seal it. Again dust in the flour and roll to a thick or thin paratha as u wish. Sendhil likes it medium thick.So I do it accordingly.
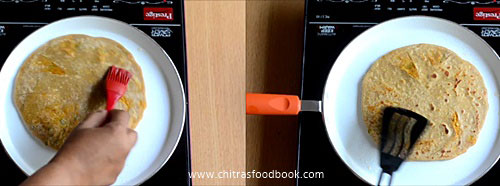
Heat a dosa tawa, cook the paratha on both the sides till half cooked in medium flame. Brush one side of paratha with ghee or cooking oil and cook for few seconds till brown spot appear.Flip the paratha and brush the other side of paratha.Cook for a minute. Keep flipping and cooking till brown spots appear all over the paratha. Brush with ghee and remove in a plate. Serve hot immediately with raita or pickle OR stack the paratha in a clean kitchen towel or thermal foil for later use. (Remember the more you brush with ghee, softer the paratha would be.)
Enjoy !
Note
Do not make the chapathi dough very sticky. Rolling will be difficult. You may have to dust the paratha with more flour which leads to dry paratha.
You should grease the paratha with cooking oil or ghee for best taste.
Cauliflower stuffing should be free from moisture so that paratha won’t become sticky while rolling.
Adding aamchur powder gives a mild tangy taste. Skip if you don’t have it.
Enjoy this yummy, flavorful gobi paratha with your favorite side dish or simple masala raita.
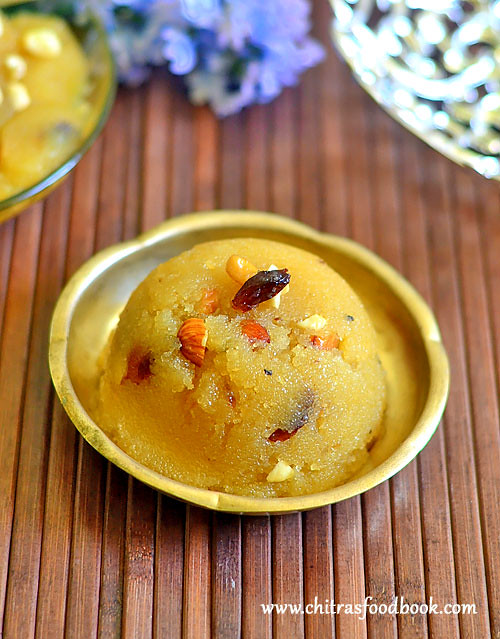
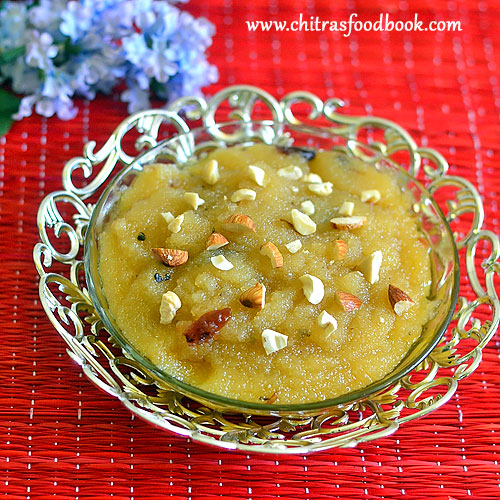
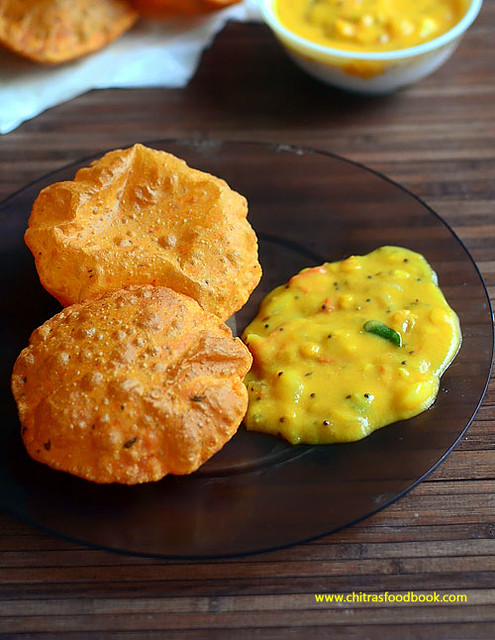
Most of the time I make South Indian style Rava kesari ( Rava = semolina in English) for functions, pooja and celebrations at home as it is our family favorite and the most comfortable sweet for me .I have already shared varieties ofrava kesarirecipes like rava kesari with milk/ Paal kesari,microwave rava kesari,semiya kesari,pineapple kesari, mango kesarietc. Its been my long time wish to try North Indian style Sooji ka halwa/ Rava sheera. So I tried it for New year 2017 celebration yesterday.In North India, Suji ka halwa is one of the most popular and easy halwa recipes that is made in all houses for all the festivals & occasions and is served in most of the temples as Prasad. This halwa is served along with Poori and Chole for breakfast.Halwa poori chole is one of the most popular breakfast combo in North India and Pakistan. In Karnataka, people call this sooji halwa as Kesari bath. Rava/sooji, Sugar and ghee forms the basic ingredients for this sweet recipe. But Rava kesari, suji ka halwa and kesari bath has its own variations in the quantity of ingredients, method of preparation, taste, color and texture.I watched few You tube videos and followed Food viva for the recipe. Though it tastes mildly sweeter than the South Indian rava kesari, it was dripping with ghee and finger licking good. We loved it very much. Its taste reminded me of the banana sheera I had in my friend’s house Satya Narayana pooja. Its very easy to prepare for special occasions and to treat your surprise guests. For variations, you can use milk instead of water. Lets see how to make North Indian special suji ka halwa/ Sooji halwa/Rava sheera recipe with step by step photos and a detailed video !!
Suji Ka Halwa Recipe
Suji Ka Halwa - North Indian version of Rava kesari
Bombay Rava/ Sooji /semolina - 1/2 cup ( Do not use chiroti rava)
Ghee - 1/3 cup + 1 tbsp
Sugar - 1/2 cup
Water - 1.5 cups
Cardamom powder - 1/2 tsp or 2 pods crushed
Saffron threads - few
Milk - 1 tbsp ( to soak saffron thread)
Chopped cashews, badam and few raisins/dry grapes
METHOD
Soak saffron threads in 1 tbsp hot milk.I din’t use saffron in this recipe. I used cardamom powder alone.
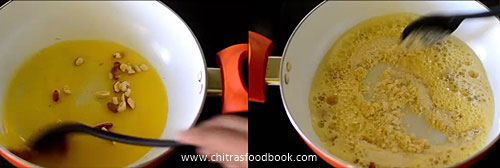
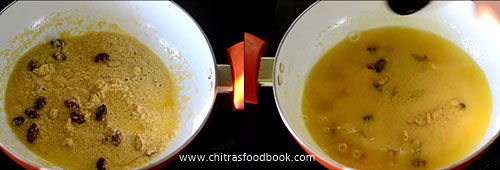
Heat 1/3 cup of ghee in a kadai.Roast the dry grapes, cashews and almonds till dry grapes bloat and nuts turns golden. Add rava and roast well for 4-5 minutes in medium flame. Rava turns light golden brown in color.
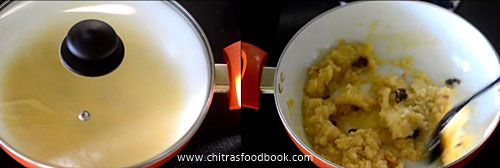
Add 1.5 cups of water to the rava and mix well till 3/4 th of the water is absorbed by the rava and becomes semi thick.Keep the flame low and cover the kadai with a lid. Cook the rava for 2-3 minutes.
Open the lid and add sugar, cardamom powder and saffron milk ( if using). Mix well without lumps.Sugar melts and the mixture will become watery. Keep the flame medium and mix well.
Halwa turns thick and starts to leave the sides of pan. Immediately add 1tbsp of ghee, mix well quickly and transfer the halwa to a bowl. Do not wait for the halwa to thicken completely. Remove it as soon as it becomes semi thick because this suji ka halwa becomes dry and hard when it cools down.So remove it at the right time. Garnish with few nuts and serve warm.
Enjoy !
Note
Add more sugar ( Say 3/4 cup of sugar) if you need more sweetness.
You can use milk instead of water but cook the rava for more time if using milk.
Do not reduce the quantity of ghee. It helps to keep the halwa soft.
If you don’t want to add more ghee, use half the quantity of oil.
Try this easy, yummy Suji Ka halwa/Rava sheera at home and enjoy !!
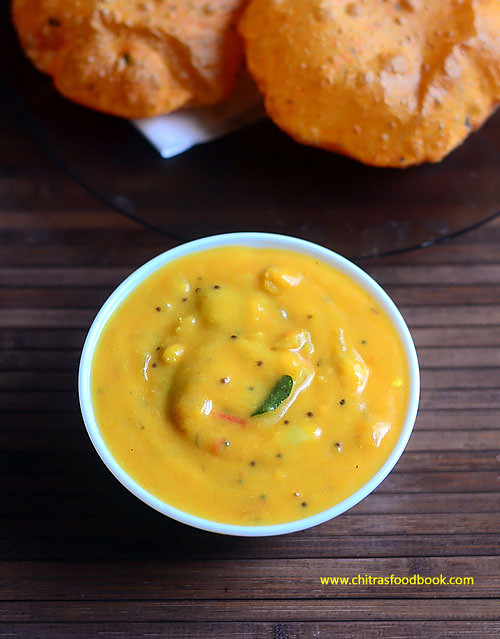
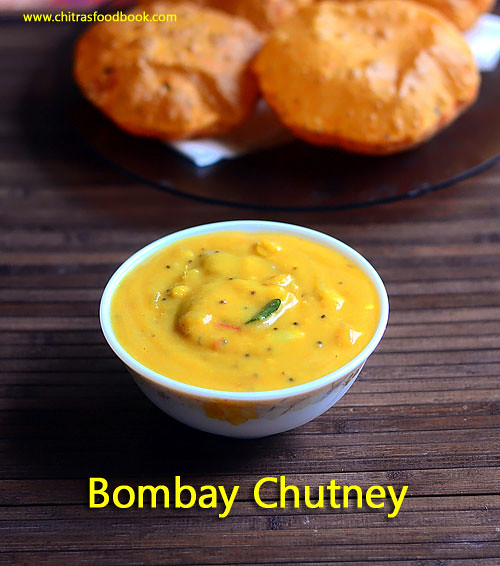
I have heard about Bombay chutney from my friend Shalini but never tried it on my own.She makes it for idli, dosa and poori.I heard this chutney is very popular in North India and Andhra. Its a very quick and easy side dish recipe which needs no dal, no coconut and absolutely no grinding job. Many of you would have tasted this kind of side dish for poori in small road side hotels. Usually I make my MIL’s besan sambar ( Kadalai maavu sambar) for idli, dosa which is slightly different in ingredients and consistency than this Bombay chutney. Last weekend I made this chutney for the first time as a side dish for tomato poori. This is sure a good replacement for our usual potato masala. I am not sure about its combination for idli, dosa but it was really great with poori. I think this chutney should be made thinner and more spicy for accompanying with idli, dosa.For variations and if you are making for your kids, do add some pieces of boiled potato. They will love it. Friends, do try this easy Bombay chutney for poori or idli, dosa. You will like it a lot. Lets see how to make Bombay Chutney aka Besan chutney with step by step pictures ! Check out my 50 chutney varieties for idli and dosa in THIS LINK !
Bombay chutney recipe
How to make Bombay chutney recipe / Besan chutney for poori, idli and dosa
Lemon juice - few drops ( only if needed, optional)
METHOD
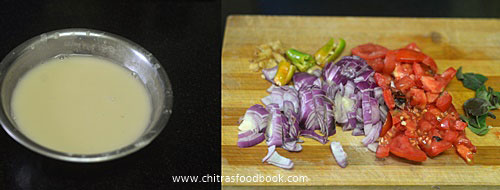
In a wide bowl, take the besan and dilute it adding 2 cups of water. Mix it without lumps and keep aside. Chop the onion, ginger, tomato finely. Slit the green chillies and set aside.
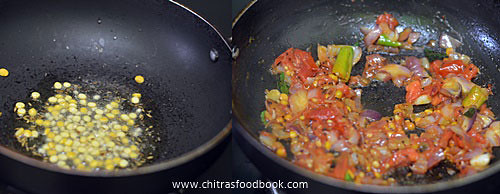
Heat oil in a kadai and splutter mustard seeds, urad dal and chana dal. Roast till dals turn golden. Now add the chopped onion,ginger, green chillies and curry leaves. Saute till onion turns transparent. Then add the tomato pieces, saute till mushy.
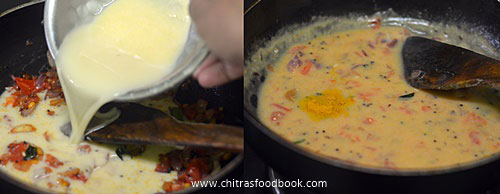
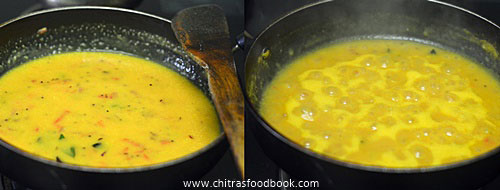
Lastly add the diluted besan flour and mix well.As soon you add it, besan will turn thick. So add 1/2 cup more water if needed. Add the required salt and turmeric powder. Mix well and boil for 5-7 minutes till the raw smell of besan leaves off.
This chutney becomes thick as it boils.So adjust the consistency by adding water in the middle and add more salt if needed. Switch off the stove and garnish with a fistful of coriander leaves. Serve hot with idli, dosa or poori. NOTE : This chutney thickens when it cools down.So you may have to add more water to adjust the consistency while serving. In that case, add hot water, more salt and add little red chilli powder ( if needed), boil for a minute and serve !
Enjoy !
Note
Add more green chillies if you want more spicy chutney.
I made it for poori .So I made it mildly spiced and added 2 green chillies.
Do not add more besan flour. Chutney will taste and smell raw.If you want to make more quantity, add more besan flour and increase the quantity of onion, tomato and green chilli proportionately.
Adding coriander leaves at the end improves the flavor a lot.So do not skip it.
Make this yummy, easy Bombay chutney for idli, dosa and Poori. Enjoy !!
 .Lets see how to make carrot halwa/ Gajar Halwa at home with step by step photos and video !!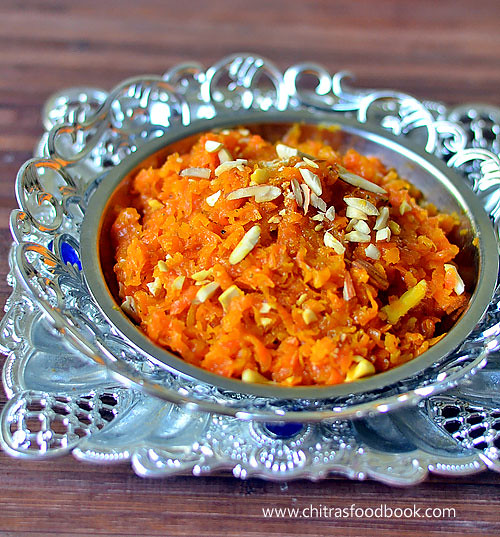


 .He told me to try the same at home
 . As I was a beginner in cooking, I did not have any idea about the stuffing part, how to roll paratha etc. When I tried it, all the stuffing came out while rolling and the paratha became a disaster
 . Still he appreciated me for my attempt and ate well. And that’s my man
 . Now after so many years of cooking, I can make a good gobi paratha for him.So I wanted to share this recipe in my blog with step by step photos and a detailed video recipe to help beginners. You can try this yummy paratha recipe for dinner or lunch box. Even Kids would love this paratha if you cook it adding ghee or butter. It comes out soft and stays good for hours. Lets see how to make Gobi paratha/Cauliflower paratha at home easily !