الثلاثاء، 12 أغسطس 2014

Gokulashtami Recipes|Krishna Jayanthi|Janmashtami recipes


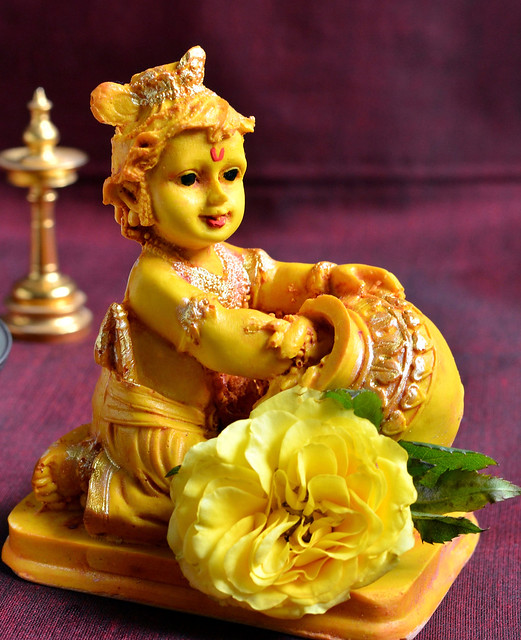
Sri Krishna idol

This year 2016,Gokulashtami aka Sri Krishna jayanthi falls on 25th,August.So I thought of sharing all the Krishna jayanthi/Gokulashtami neivedyam recipes under one page for easy reference.In this page I have shared the links of How to make homemade rice flour, Urad dal flour, Vella seedai/Sweet seedai recipe, Salt seedai/Uppu seedai recipe, Easy Nei appam/Ghee appam, Thattu vadai recipe and payasam varieties.I am yet to post Kai murukku and chakli recipes.I will share them in my upcoming posts.Janmashtami is celebrated for the birth of Hindu Lord Sri Krishna.It usually falls on 8th day of Krishna paksha of Shravana month(august-september). Generally pooja has to be done at midnight.But we usually make pooja in the evening after 6 pm.For Naivedyam,People in Tamilnadu keep all varieties of fruits,Butter,Milk, Curd, Aval/Poha mixed with jaggery along with Sweet seedai, salt seedai, Kai murukku, Appam and Paal payasam.My Mil says butter, milk, curd & aval with jaggery are the most important for offerings even if u are not able to prepare other savouries because these are Krishna’s Childhood favourites. Here is the picture of Sri krishna with offerings.Bakshanams are missing hereTongue.I will post a picture this weekend with all the offerings from our pooja room.Wish u all a very happy krishna jayanthi Happy.

gokulashtami recipes


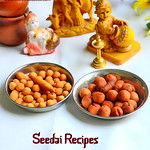
I have shared the links of all Gokulashtami recipes below.Please click on the picture to view the respective recipes.Hope u find it useful !


       Uppu seedai & Vella seedai using store bought rice flour

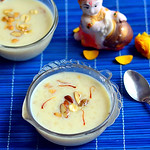
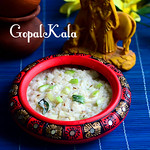
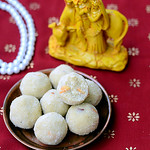
   Poha Kheer/Choora kheer   Gopalkala recipe  Aval ladoo / Poha laddu

     Rava ladoo Wheat flour appam-Deep fried version  Thinai Nei appam 

     Rice Murukku/Thattu vadai  Easy aval Panchamirtham  Easy Paal Kozhukattai

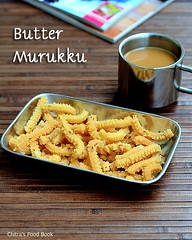
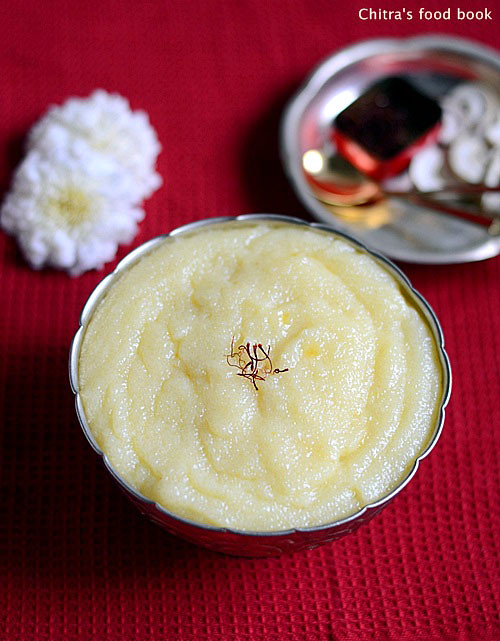
     Paal Payasam recipe   Butter murukku  Microwave Rava Kesari


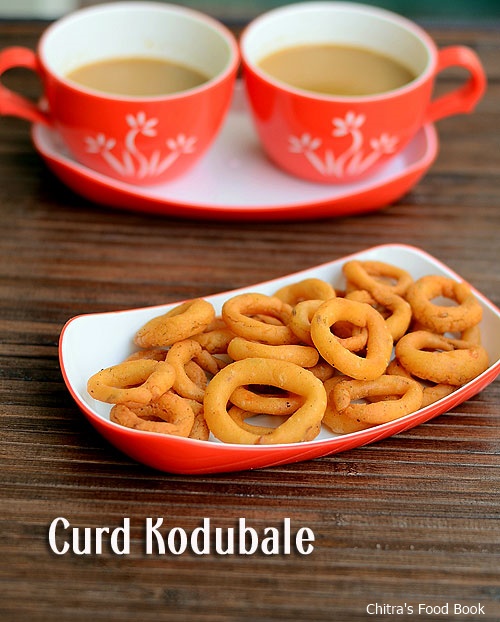
      Paal Kesari/Milk Kesari   Rava Kesari recipe   Curd Koubale/Ring murukku

Other than the above mentioned recipes,U can also make Rice payasam,Urad dal vada and Some laddoo varieties if interested.
TIPS TO AVOID BURSTING OF SEEDAI

Most of us are afraid of making seedai just because it bursts. But when u follow these tips properly,seedai never burst & it comes out super crunchy and tasty.Here are some of the tips i learnt from my mom & MIL to avoid bursting and to make a perfect sweet seedai & salt seedai recipes.Happy Krishna jayanthi :)
  • U must roast the wet flour for few minutes in low flame if u are using homemade processed rice flour.For store bought rice flour, this step is not needed.
  • First important thing to avoid bursting is to “SIEVE” the flour once or twice. U should sieve all the flour ( urad dal flour, rice flour). Sieving the flour properly reduces 90% of bursting.
  • Secondly u should not roll the seedai very tightly. U should roll it to a loose ball using three fingers.No problem if its not a proper round..
  • One more tip is to prick the seedai with a small needle to avoid bursting..Dry the seedai in a paper or towel for 20 mins before frying.This is also very important.
  • Beginners can try deep frying few seedai in “small tempering kadai” .If it comes out well , proceed in a big kadai.Color variations may be there slightly. But u can check whether it bursts or disperses in oil..
  • If sweet seedai breaks or dissolves in oil , it means jaggery may be more or oil temperature is too high or too low.
  • If Seedai bubbles too much after u drop into oil ,it shows the fat ( ghee or butter or oil) content is more..So add more rice flour to the dough & make again..
  • The color of seedai depends on the color of urad dal flour. If u roast the dal to golden brown ,seedai will also turn brown.
  • Uniform heating is also important. In my observation , i feel low to medium flame is enough to get a nice colored and crispy seedais.

Check out these links for my sweet seedai & uppu seedai recipes :


WISH U ALL A VERY HAPPY KRISHNA JAYANTHI CELEBRATION Happy.
ENJOY WITH SEEDAI & MURUKKU Winking.


الاثنين، 11 أغسطس 2014

Chickpeas Dressed with Fresh Basil Pesto

Chickpeas Dressed with Fresh Basil Pesto

I adore summer for many reasons. Pretty much half of the year in Canada is dark and cold, so warmer weather and sunshine ought to be enjoyed. Of course, as someone who focuses on fresh ingredients and good flavor, I also relish the wonders of what I plant in the backyard each summer. Peppers are prominent in all their glory, as are tomatoes and herbs.

Usually two kinds of basil are an annual treat. Lemon basil just happens to be my favorite. Here I have used some of my harvest and pulsed it up to make a pesto to dress plump and buttery chickpeas.

If you want to make this recipe vegan, simply omit the goat cheese and adjust the amount of olive oil accordingly to make the paste. I did appreciate the creaminess the goat cheese added to the pesto, but either way, it is a delightful dish.

For more of my creations and interests, you can keep up to date on:

Facebook
Twitter
Google+
Pinterest


 Chickpeas Dressed with Fresh Basil Pesto Chickpeas Dressed with Fresh Basil Pesto
Recipe by
Published on August 11, 2014

Plump buttery chickpeas tossed with a simple and creamy spiced pesto — an easy and tasty summer meal

Print this recipePrint this recipe

Ingredients:
  • 1 1/4 cup dried chickpeas (3 1/2 cups cooked)
  • 6 sun-dried tomatoes
  • 1/4 cup pine nuts
  • 1 cup fresh basil
  • 1 to 2 jalapeños, seeded and chopped
  • 1/2 to 1 teaspoon Kashmiri or other chili powder
  • 1/2 teaspoon ground cumin
  • 1/4 cup olive oil
  • 3 tablespoons goat cheese (optional)
  • 1 teaspoon sea salt or to taste
Instructions:
  • Rinse the chickpeas and soak in several inches of water for 8 hours or overnight. Drain and rinse, then transfer to a medium or large saucepan and cover with several inches of fresh water. Bring to a boil, reduce heat to low, cover, and simmer for 1 to 1 1/2 hours or until tender.

  • Meanwhile, soak the sun-dried tomatoes in hot water for 20 to 30 minutes, then drain and set aside.

  • Toast the pine nuts in a small unoiled saucepan or frying pan over medium-low heat, tossing or stirring occasionally, until lightly browned — about 7 to 8 minutes. Set aside to cool.

  • Make the pesto by combining the sun-dried tomatoes, pine nuts, basil, jalapeños, chili powder, cumin, olive oil, goat cheese if using and salt in a food processor. Pulse until blended, adding more olive oil if necessary.

  • Drain the chickpeas when they are ready and toss with the pesto. Let cool for a while and enjoy with rice or some toasted pita triangles.

Makes 4 to 6 servings

chickpea pesto

Other chickpea dishes to indulge in:
Aloo Gobi with Chickpeas
Baked Chickpea Kofta Tacos with Avocado and Harissa
Chickpeas Smothered in a Tangy Tomato Gravy
Chickpeas with Mushrooms

On the top of the reading stack: various selections

Audio Accompaniment: Talk Talk - Laughing Stock

السبت، 9 أغسطس 2014

EASY MYSORE PAK RECIPE- 3 MINUTES MICROWAVE SWEET RECIPES


Happy raksha bandhan

Wishing u all a very happy Raksha Bandhan Happy.On this Rakhi festival day,i am here with an easy,peasy 3  minutes microwave sweet recipe,Mysore pak.
Thanks a ton Aarthi ( yummytummy) for sharing this wonderful recipe with us.I tried Mysore pak for the first time in my life and it was a huge hit among my family and friends.My family members are not a big fan of mysorepak.So i never got an idea to try this sweet recipe by seeing the time consuming procedure and the gallons of gheeNot talking.But i know my Sister is a die hard fan of mysore pak especially from Sri krishna sweets and Salem Lakshmi sweets. She loves the soft,melt in mouth texture and she never minds about emptying one full box of it in one daySurprise.So just for her sake,i wanted to try Mysore pak recipe for this year’s Diwali.But when i saw this super easy,Instant microwave mysore pak recipe & that too in less than 5 minutes,i got tempted like anything and bookmarked it immediately.In this method,you don’t have to worry about sugar syrup consistency,no stirring job,less ghee comparitively & moreover it gets ready in 5 minutes.Its really a great sweet for beginners to try.
In Facebook’s Bombatt bhojana group,few people had tried the same and shared their pictures too.This gave me double assurance for this recipe to try.So what else,i tried this yummy mysore pak recipe for 3 times since yesterday & passed some of them to my friends too.They all loved it very much,took the recipe,tried it immediately & shared their pictures with me.I was so happy because this is the first recipe which became a super hit even before i blog it hereParty.I have shared all the possible tips in “Note” section.This mysore pak won't come out so porous and not so soft like SKC's mysore pak.Its texture would be in the middle.But this recipe really makes wonders in less than 5 minutes i should say!.Try this,u will come to know.I was very much satisfied with my first attempt.I will try to share the stove top authentic mysore pak recipe for this Diwali.Friends,do prepare this easy,yummy mysore pak recipe for Raksha bandhan celebration & treat your brothers Big Hug.Lets see how to make this mysorepak at home using microwave instantly !!
As i clicked the pictures in the late evening,it din’t do justice to this recipe Sad.I will try to upload some good pictures with a video soon.
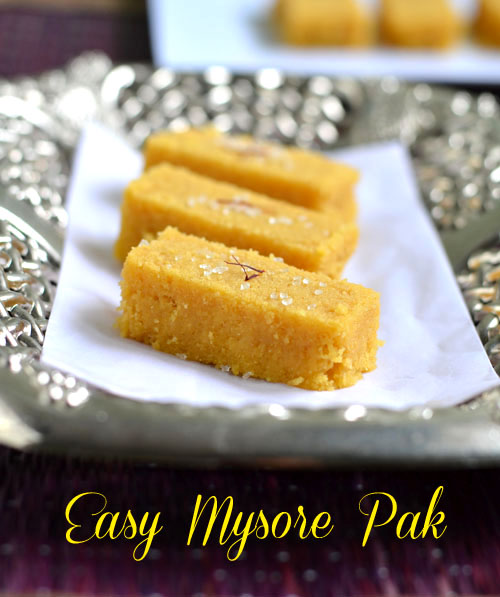


Easy microwave mysore pak recipe


Easy microwave mysore pak recipe Easy,instant mysore pak recipe using microwave in less than 5 minutes
Cuisine: Indian
Category: Sweet
Serves: 6-8nos
Prep time: 5 Minutes
Cook time: 3 Minutes
Total time: 8 Minutes


INGREDIENTS

  • Besan flour - 1/2 cup
  • Powdered sugar or icing sugar - 1 cup
  • Melted ghee - 1/2 cup + 1 tbsp
  • Boiled & cooled milk - 2 tsp ( at room temp,not hot)
METHOD

  • Powder 1/2 cup of crystal sugar to a fine powder.U will get around 1 cup.Set aside.Melt ghee & measure it.Set aside.Keep a plate ready greased with ghee.( I used my aluminium burfi plate which i bought from Salem) .In a wide bowl,sieve the gram flour.Keep aside.
Mysore pak 1
  • In a microwave safe bowl(preferably glass bowl), take 1 tbsp of melted ghee & add the sieved gram flour.Mix well and keep it in microwave high power ( mine is 800w) for 1 minute.It will get roasted well.
How to make mysore pak
  • Now remove the roasted gram flour in a bowl and set aside.In the same microwave bowl,take 1/2cup of melted ghee,add the powdered sugar or icing sugar & 2 tsp of milk.Mix well.
How to make mysore pak 1
  • To this,add the roasted gram flour without any lumps( this is more important to get a soft,non-crumbly mysore pak).
How to make mysore pak 2
  • Mix well and microwave in high power for 1 minute.U can see the ghee completely melted and floating on top.Remove and stir it well.
How to make mysore pak recipe
  • Again microwave for 1 minute in high power.Take it out,u can see foamy texture with bubbles in it.If its not foamy,mix well & keep it again for 30 seconds.
How to make mysore pak 4
  • After 30 seconds,remove & Just pour it in the greased plate,press it very well with the back of spatula and smoothen it.The mixture will be slightly crumbly.Don’t worry.
  • Leave it aside for 10-15 minutes.Once it becomes warm,draw shapes.Remove once its cooled down completely.
How to make mysore pak 5
How to make mysore pak 6
Serve n enjoy it ! Tastes yummy.Initially u may feel it little hard but as the time proceeds,it will become soft.It tastes best the next day.But everything will be vanished within NO time!!


Note

  • Cooking time depends on the heat & power of microwave.But don’t worry,even if u keep it for 30secs extra by mistake,it comes out well.But at any cost,do not keep it more than 2 mins 30 seconds excluding roasting time.
  • I used melted ghee in this recipe.If u use frozen ghee,take the required ghee & melt in microwave for 1 minute each time and then use.Do not use frozen ghee as it is.It won’t work.
  • Don’t worry if the mixture becomes crumbly because of over cooking.Just spread the mixture in greased plate and press it very well with a spatula or with ur hands covering the mixture with sheet.Careful,it would be very hot.It will set when it turns warm.Tastes good too.Second time,i over cooked it slightly & color became dark but still the taste was great.
  • Make sure there are no lumps in besan flour before & after roasting because lumps results in uneven cooking and crumbly mysore pak.So better break it well with ur hands or sieve it well.
  • As i said,it tastes the best as time proceeds.So reserve few pieces to check its actual taste the next day.
  • U can also use icing sugar instead of powdered sugar.
  • If using crystal sugar,powder 1/2 cup of it.U will get little less than 1 cup.But that’s enough for this sweet.


Don’t forget to check out my Easy coconut ladoo recipe too


Enjoy Rakhi festival with this easy,yummy sweet !! Once again i wish u all a very happy
Raksha Bandhan Party

mysore pak recipe


الجمعة، 8 أغسطس 2014

Green Pea Falafel

green pea falafel

I'm still enjoying the local fresh green pea harvest, and although these might not be your tradition falafels as chickpeas are absent except for a bit of besan flour, these unusual green pea falafels loaded with fresh herbs and seasoned with spices really make for a fine summer meal adorned with vegetables and some fresh chutney. I enhanced their green goodness with an avocado mango salad with cilantro and roasted cashews which served as a vibrant and colorful chutney itself.

garden pea falafel

Green Pea FalafelGreen Pea Falafel
Recipe by
Cuisine: Middle Eastern
Published on August 8, 2014

Simple fresh green "falafels" made with green peas instead of cooked chickpeas and seasoned with spices and a mixture of fresh herbs

Print this recipePrint this recipe

Ingredients:
  • 3 cups fresh or frozen peas
  • 1/2 cup unbleached white flour
  • 2 tablespoons chickpea flour (besan) or unbleached white flour
  • 2 teaspoons baking powder
  • 1 small red onion, chopped
  • 1/4 teaspoon dried red pepper flakes
  • 2 cloves garlic, chopped
  • 1 jalapeño, seeded and chopped
  • 1 cup fresh mint leaves, chopped
  • 1/2 cup fresh parsley, chopped
  • 1/2 cup fresh cilantro, chopped
  • 2 tablespoons ground cumin
  • 1 tablespoon ground coriander
  • 1 teaspoon paprika
  • zest from 1 lime (1/2 teaspoon)
  • 1 teaspoon sea salt
  • 3 tablespoons olive oil for frying
Instructions:
  • Simmer the peas in a saucepan of water for 2 to 3 minutes until just tender. Drain and set aside.

  • In a medium bowl, whisk together the flours, baking powder and red pepper flakes.

  • In a food processor, combine the onion, garlic, jalapeño, mint, parsley and cilantro, and pulse until everything is chopped and combined. Add the peas, cumin, coriander, paprika, lime zest and salt and pulse until the peas are finely chopped.

  • Transfer the mixture to the flour and stir to combine. If the mixture seems too sticky, add a little more flour. Refrigerate for 1 hour.

  • Heat the oil in a large non-stick skillet over medium heat. Moisten your hands with a little oil and shape the mixture into 10 to 12 small patties about 1/2-inch thick. When the pan is hot, fry the falafels until golden brown, about 2 to 3 minutes per side. Drain and paper towels and repeat for the remaining falafels.

  • Serve warm with chutney, as a filling for pita breads stuffed with other vegetables and some tomato, or as the filling for a mini burger.

Makes 4 main servings

green pea falafel with fresh fruit salad

Other recipes starring green peas:
Aloo Mattar (Potato and Pea Curry)
Cabbage Poriyal
Classic Mattar Paneer
Cauliflower and Pea Curry

On the top of the reading stack: browsing the shelves

Audio Accompaniment: Talk Talk

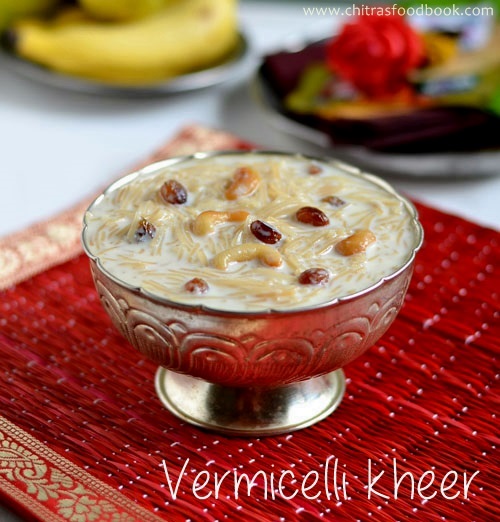
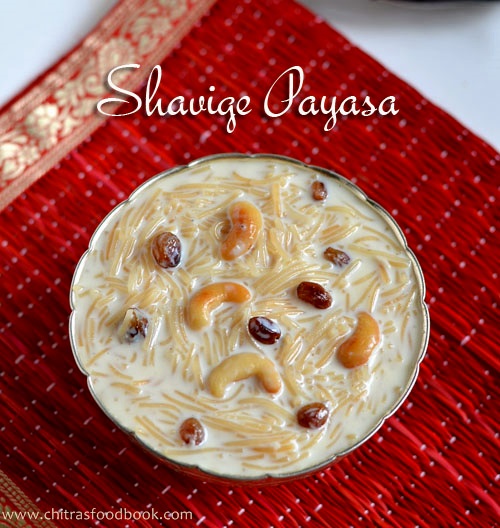
SHAVIGE PAYASA RECIPE/VERMICELLI KHEER-KARNATAKA RECIPES


Shavige payasa recipe

Actually i wanted to share Karnataka style Holige as Varamahalakshmi festival recipe. But unfortunately i couldn’t make it as i expected.Next to holige,people in Karnataka make this shavige payasa for most of the festivals.So i thought of posting this simple and quick fix dessert recipe, vermicelli kheer on this auspicious day.In Tamil nadu,we make Paal payasam aka semiya payasam in a similar way but we make it slightly watery in drinkable consistency.But here,people make it like vermicelli pudding in thick spoonable consistency.U can make it rich by adding condensed milk(milk maid) or khoya.Lets see how to prepare this droolable shavige payasa Tongue.
Wish u all a very happy Varamahalakshmi festival.May we all get the blessings of Goddess Lakshmi on this wonderful day Praying.

Shavige payasa recipe

Shavige payasa/Vermicelli kheer recipe


Shavige payasa/Vermicelli kheer recipe Shavige payasa/Vermicelli kheer recipe for Varamahalakshmi festival - Simple n yummy Karnataka delicacy
Cuisine: Indian
Category: Sweet
Serves: Serves 4
Prep time: 5 Minutes
Cook time: 20 Minutes
Total time: 25 Minutes


INGREDIENTS

  • Roasted Vermicelli/Shavige/Semiya - 1/2 cup (100 gms)
  • Boiled milk – 2.5 cups
  • Water – 1 cup
  • Sugar - 1/2 cup
  • Crushed cardamom - 2 nos
  • Cashewnuts and dry grapes - a fistful
  • Saffron threads - few (optional)
  • MTR Badam powder - 1 tsp (optional)
METHOD

  • Heat 1 tbsp of ghee in a pan.Roast cashews & Dry grapes.When grapes turn bulgy,remove & keep in a plate.
  • In the same ghee,roast the vermicelli  even if its roasted.It will enhance the taste.
shavige payasa 1
  • Boil 1 cup of water + 1 cup of milk in a wide bowl.When it comes to boil,add vermicelli.Let it cook in low to medium flame.After its well cooked,add sugar. 
shavige payasa 2
  • Mix well and boil for few minutes till all the sugar dissolves.Add the remaining milk  & MTR powder if using.Boil for few minutes.
shavige payasa 3
  • Lastly add cardamom powder,roasted cashews & dry grapes.Switch off the flame.This payasa will thicken once its cooled down.So adjust the quantity of milk. Refrigerate,cool n serve OR serve warm as u like.
shavige payasa 4

Enjoy !


Note


  • Adjust the quantity of milk as per the desired consistency.
  • U can also add 2 tbsp of condensed milk or khova to get a rich taste. In that case reduce the quantity of sugar.
  • Adding MTR badam powder is optional.But i have tasted in some of my friend’s houses.It tastes great with a nice flavor.


Do check out my Kerala style Paal Payasam,Bengali Chaler payesh & Tamilnadu style semiya payasam


Karnataka payasa recipes

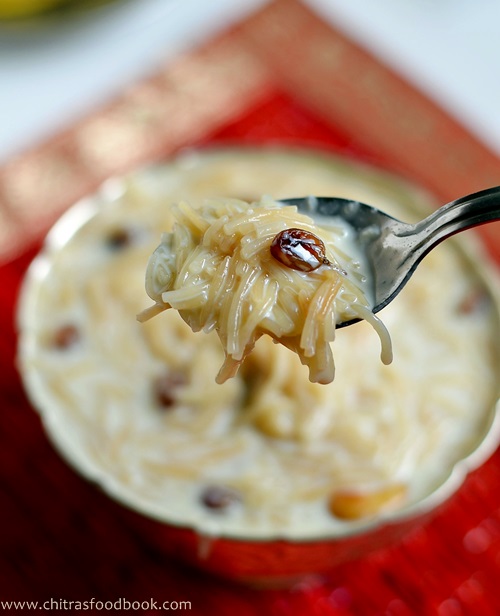
Karnataka style Shavige payasa is ready to relish Tongue

Shavige payasa recipe