‏إظهار الرسائل ذات التسميات COLLECTIONS. إظهار كافة الرسائل

الخميس، 6 أكتوبر 2016

30 Sambar Varieties For Idli – South Indian Idli Sambar Recipes – Breakfast Sambar Recipes

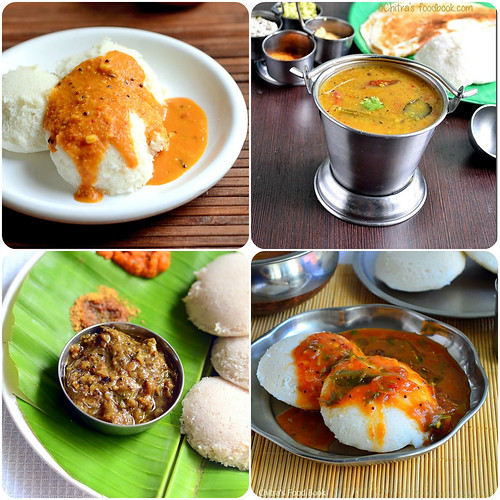
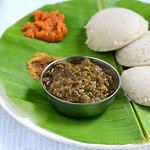
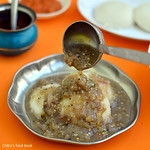
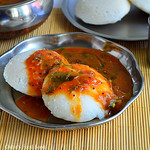
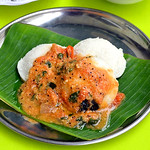
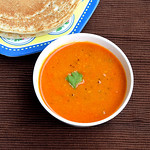
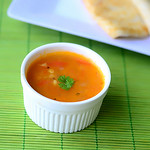
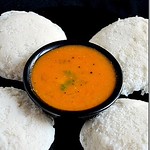
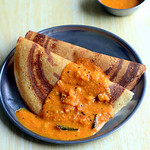
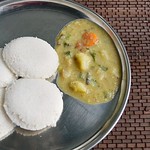
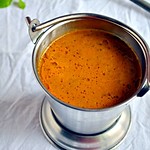
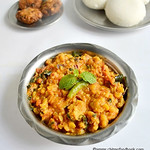
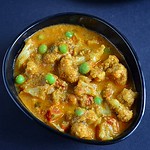
Idli sambar varieties
In this post, I have shared a list of 30 Idli Sambar recipes. These South Indian sambar varieties serve as the best side dish for idli, dosa, pongal. I hope this collection would help you all in choosing the side dish for breakfast. I got the habit and passion of trying varieties of Idli sambar, chutney recipes from my Mom. In my home, My mom makes around 10 different types of sambar recipes for idli, dosa along with some chutney recipes for everyday breakfast recipes. We used to relish the same for breakfast and dinner. After marriage, I learnt even more simple and easy breakfast sambar recipes from my MIL as well. In most of the South Indian households, especially in Tamil nadu, Idli would be the staple breakfast. Sambar is the most popular and the best side dish for idli, dosa and pongal. Every family have their own version of Idli sambar and follow it for years. If you are looking for a change from your usual idli sambar, this collection would surely help youHappy.
I have categorized these sambar varieties as Dal sambar varieties ( With Hotel style recipes), Tomato sambar recipes, Brinjal sambar recipes and Kurma varieties for idli, dosa, idiyappam and rava idli. In that, you can find varieties of moong dal sambar, toor dal sambar recipe, hotel idli sambar, easy restaurant style sambar, ghee idli sambar( mini idli sambar), Instant tiffin sambar, Easy vegetable sambar, Easy besan sambar, 6 tomato sambar varieties, 4 types of Kathirikai sambar recipes with and without tomato, Idli sambar without dal, Idli sambar with and without coconut and some Kurma kind of side dish for idli dosa like Parotta Salna, Vadacurry, Cauliflower gravy, tomato kurma etc. Apart from this, you could also find some of the most popular South Indian speciality idli sambar recipes like Kumbakonam Kadappa, Saravana bhavan Idli Sambar, Chidambaram Brinjal Gosthu and Thanjavur Tomato gothsu for pongal and idli.For making hotel style idli sambar, we need to add roasted and ground idli sambar masala powder. So I have shared an easy, idli sambar powder/podi recipe which can be prepared and stored for weeks together.This helps you to make hotel style idli sambar instantly. Apart from our Tamil nadu style sambar recipes, I have also shared the links of idli sambar recipes from other states like Kerala Ulli Sambar and Udupi Hotel style sambar, Karnataka. I am yet to try Bangalore style and Andhra style idli sambar recipes. I will post them after I get a perfect recipe. Most of these recipes are learnt from my Mom, MIL and magazines. I have also shared some tips for making perfect idli sambar. Do check them out and try your favorite Idli sambar ! Share your feedback too Happy. Ok, Lets see the collection of South Indian Idli sambar recipes below.
Check out my
50 chutney recipes

15 Idli Varieties

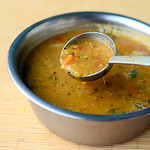
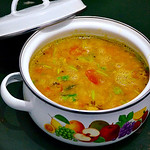
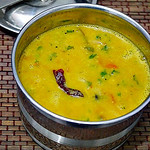
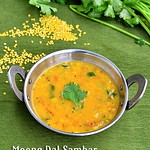
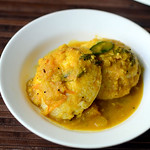
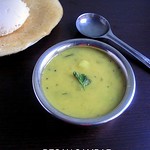
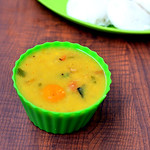
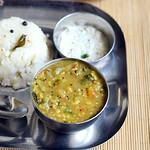
Idli sambar varieties - Breakfast sambar recipes


Idli sambar varieties - Breakfast sambar recipes A collection of 30 sambar recipes - Side dish for Idli, dosa
Cuisine: Indian
Category: Sambar varieties
Serves: Serves 2-3
Prep time: 20 Minutes
Cook time: 30 Minutes
Total time: 50 Minutes


INGREDIENTS

  • Moong dal
  • Toor dal
  • Tomato
  • Brinjal
  • Roasted gram dal
  • Onion
  • Tamarind
  • Coconut
  • Green chillies
  • Red chillies
  • Dhania seeds/ powder
  • Chilli powder
  • Sambar powder
  • Salt & water
  • Mixed vegetables
To temper
  • Cooking oil / ghee
  • Mustard seeds
  • Urad dal
  • Cumin seeds
  • Hing/Asafetida
  • Curry leaves
  • Coriander leaves - to garnish
TIPS TIPS
  • Generally Idli sambar should be less tangy. So use less tamarind, may be small gooseberry size to make sambar for 2-3 persons OR you can use just 2 tomato instead of tamarind.
  • We should add more dal for idli sambar ( Say 1/3  - 1/2 cup for 2-3 persons) if you don’t add roasted and ground fresh powder ( Idli sambar powder).If you add Idli sambar powder, 1/4 cup dal is enough.
  • Idli sambar should not be too spicy.It should be drinkable.So use less chillies.
  • Toor dal or moong dal used in the sambar should be cooked really well, soft and mushy. Use 1:4 ratio of dal and water, add a few drops of cooking oil in the pressure cooker. If you wish, you can soak the dal for 20 minutes at the time of chopping other vegetables like onion, tomato, carrot, potato etc.Cook in low flame for 2 whistles. Mash the dal with a whisk once the pressure is down. The base of sambar lies in how well the dal is cooked. Suppose if the dal is not mushy, sambar will become watery and dal looks separately in the sambar. To trouble shoot this problem, u can mix 1-2 tsp of besan flour with 1/4 cup of water and add to the dal while boiling. It will help you to give a good base to the sambar. But remember to boil the sambar till the raw smell of besan emanates.
  • Vegetables like Drumstick and Pumpkin is essential for Dal based idli sambar. In hotels, they do add drumstick in small pieces. But you should not cook drumstick along with dal. It should be cooked separately. I usually cook few drumstick pieces in a small tiffin box without adding water. It will get cooked well without losing its shape. Few pieces of pumpkin is added to give natural sweetness to sambar. But do not add more. Just 2-3 chunks would be enough for 1/2 cup of dal. Apart from these vegetables, you can add few pieces of Potato & carrot too. I feed the carrot & potato pieces to my daughter.
  • If you don’t have pumpkin in hand, you can use a small berry sized jaggery ( Sundakkai alavu)
  • Use small onions/sambar onions for best taste.
  • Try to temper the sambar in ghee. Ghee gives a great flavor to the sambar especially if its dal based. For making brinjal sambar, you can use sesame oil/Gingely oil/Nalla ennai.
  • If you don’t like to temper in ghee for dal based sambar recipes, do it using cooking oil and add a tbsp of ghee over the sambar at the end, close it with a lid and rest for 30 minutes to one hour before serving.
  • Generally idli sambar tastes the best when you give a resting time of an hour. For guests, I usually prepare the sambar well in advance and reheat it at the time of serving.
  • To make hotel style sambar, freshly roasted and ground spice powder should be used. To make this powder, use more chana dal than dhania/coriander seeds OR equal quantity of chana dal and dhania. Never forget to use methi seeds while roasting spices. Some people add curry leaves and even coconut for variations.
  • For tomato sambar recipes, adjust the number of chillies based on the ripeness of tomato.Generally Tamil nadu tomato ( Naatu thakkali) tastes sour than Bangalore tomato.
  • For brinjal sambar recipes, adding tamarind is mandatory because brinjal has a slight bitterness naturally.To avoid this, tamarind should be added but in a minimum quantity based on the recipe.
  • To make Kurma style side dish for idli, dosa you can either grind coconut + whole spices and add to the tomato, onion, vegetables base OR saute the whole spices before adding onions, tomato and proceed without coconut paste.
  • Last but not the least, add a tsp of gingely oil while serving the sambar especially for tomato sambar and brinjal sambar. It adds a great taste to the sambar.
  • Hope you find these tips useful. Ok, Lets move on to the collection below Happy
    DAL SAMBAR VARIETIES
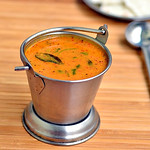
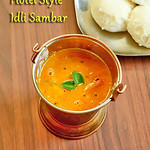
    Hotel idli sambar Saravana bhavan idli sambar
     Mini idli sambar Kerala Ulli sambar/ Onion sambar
     Udupi hotel style sambar Hotel sambar - Easy version
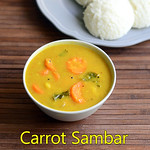
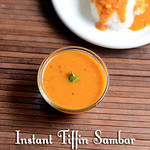
     Carrot sambar for kids Instant tiffin sambar 
    Toor dal sambar A2b style sambar
     Tirunelveli style sambar  Easy moong dal sambar
       Vegetable idli sambar Besan sambar/ Kadalai maavu sambar
    Toor dal + Moong dal sambar


      BRINJAL SAMBAR VARIETIES

        Easy brinjal gosthu Chidambaram brinjal gothsu
       Brinjal sambar/ Kathirikai kichadi Tomato brinjal sambar

    TOMATO SAMBAR VARIETIES

     Tomato sambar with coconut Tomato sambar for dosa
     Thanjavur tomato gosthu Thakkali sambar for idli - Mom's special
      Spicy tomato sambar for dosa
    KURMA VARIETIES

    Kumbakonam Kadappa - 2 versions Parotta salna
    Vada curry Cauliflower gravy
     Tomato kurma Kurma for idiyappam, rava idli

    IDLI SAMBAR POWDER
    Idli sambar powder for hotel style sambar

Try these idli sambar recipes at home and do share your feedback with me. Thanks for visiting this page !
Check out my

50 chutney recipes


الاثنين، 26 سبتمبر 2016

Cooking Tips For Working Women – Indian Cooking Ideas

Cooking tips for working women
Friends, this post is all about useful cooking tips for Indian working women, beginners in cooking, bachelors, stay at home moms with babies in hand and for house wives who wish to finish the morning chores quickly and easily without any tension .These pre-preparation ideas would help you feel relaxed and manage to do quick and easy cooking during the busy, hectic weekdays. Recent days I have been getting mails to share some simple lunch menu ideas for busy weekdays by spending less time in kitchen. Very soon I will start a lunch menu series suggesting some easy and healthy Indian lunch recipes for daily cooking. Before that, I wanted to make a post about useful cooking tips & pre preparations to make the job easier. As I have worked for an year after marriage, I have seen & heard from my colleagues about the difficulties in managing home and career.Time management plays a major role here. For me, there was no problem at all as I was in a joint family. My in-laws did all the household chores and supported us very well.In this present day nuclear family setup, many people does not get the luxury of moral & physical support of elders to share cooking and other household responsibilities. So it would be really tiresome and stressful if we don’t plan things ahead. I hope these simple, handy tips and tricks would  be helpful to make the kitchen chores easier and stress freeHappy. Don’t worry, these pre-preparations won’t eat your weekend’s relaxing hours. You may need to spend just 2-3 hours to finish all these works or you can get the help of your servant maid to finish this job quickly. This will save lot of time during busy weekdays. Before going to this post, I must thank my friend Shalini for helping me to frame these points as she is regularly following these things.Love you lots dear Love Struck. She also shared some pictures from her kitchen. I have made them as a collage and given below. Friends, I hope this post would be useful to plan & manage things easier. Working women and bachelors, please share your valuable tips you follow in your daily cooking in the comments section. It would be of great help for the people who read this post. Thanks in advanceHappy. Ok, now lets see some smart cooking tips and secrets to be a super wife and momWinking.This post is with more & more of stories and essays. Please bear with meTongue.

DISCLAIMER : All the points I have shared below is based on the ideas I got from my working friends. I have also gone through some websites and magazines for more tips. Please modify or skip the suggestions as per your wish & need. You need to have a refrigerator, pressure cooker and some good air tight containers to make & store the dishes.

Cooking tips for working women Indian

SOME USEFUL GADGETS

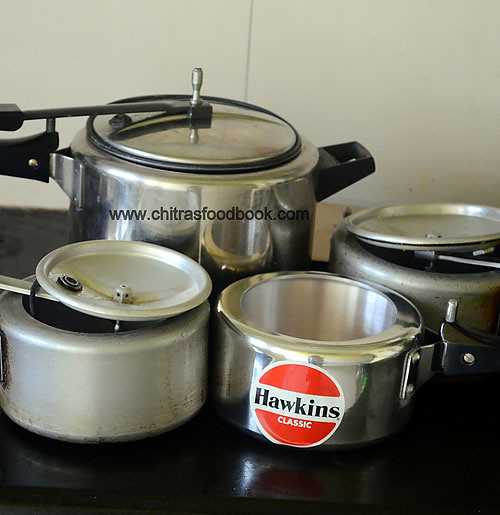
According to me a 2 burner gas stove, 3 small pressure cookers, few ladles, mixing bowl and a mixer grinder is enough to cook even for 10 people. Pressure cooker is my biggest strength. It helps to cook any food quickly and easily. I have shared the pictures of  my cookers above for your reference.I use 3 Hawkins small sized pressure cookers ( 1.5 liters and 2 liters) and one 5 liter cooker. I use 2 of them for lunch preparation and 1 for cooking breakfast. I use the big sized cooker only for my guest. I will share how I use these cookers for quick cooking in my upcoming lunch menu series.

Cooking tips for working women - Indian
Pic courtesy – My friend Shalini
PLAN AHEAD

Make a weekly timetable for the menu according to your family's preferences. Keep a list of all the dishes you want to cook in the following week and write down all the required ingredients so that you can purchase all the groceries and vegetables as per the list.If you don’t like to spend time in grocery shopping, go for a monthly purchase. Refer my “Monthly Grocery list” post for the idea. You can buy vegetables once in 10 days and store them in refrigerator.  I follow this every month to save my time spent in shopping.

GRIND THE BATTER

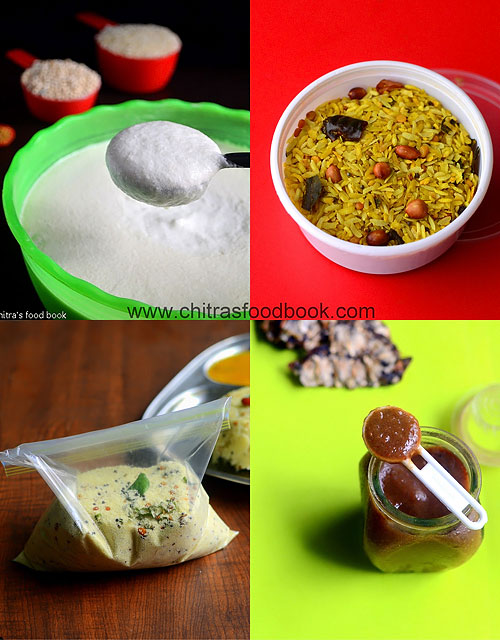
This point is especially for people who rely on Idli dosa recipes. Grind Idli dosa batter, Appam batter, Adai batter during weekend and store it for a week. You can even make millet idli, dosa batter and store it for one day. Idli, dosa batter is a real savior in Indian cooking. You can make idli, dosa, uthappam, Paniyaram for breakfast and dinner as well. Similarly you can also grind and keep batter for dosa varieties like Set dosa, sponge dosa, poha dosa etc. It will help you for sure. My friend Shalini's maid helps her to grind varieties of idli and dosa batters during every Sunday for the whole week's use. Even though I am a house wife, I too grind all the batters during weekends and use it mainly for the week's breakfast because I don't want to hit my head thinking about breakfast recipes during busy morning hours. Generally I make Instant dosa varieties, Instant idli varieties like oats idli, rava idli, upma recipes like wheat rava upma, vegetable rava kichdi, millet recipes, Ragi roti, Phulka or stuffed paratha varieties for my dinner. I try to avoid consuming rice at night.
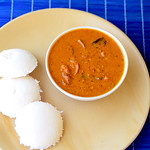
Check out my Idli varieties post for varieties of idli,dosa batter. Check out my easy dosa batter recipe too ! For other options, you can make instant dosa varieties, upma varieties for breakfast or dinner.

MAKE ROTI DOUGH

Make roti dough well in advance and refrigerate it. The kneaded dough will remain fresh for at least 2-3 days. You can make use of this dough for making roti , poori and stuffed paratha. Remember to store in an air tight box. Take only the required quantity of dough from the box and immediately refrigerate the leftover dough.  But try to use it within 3 days.

PREPARE THE SIDE DISHES

When we have idli, dosa batter in our hand, we start to hit our head for making side dishes. That’s quite natural. So prepare some side dishes like tomato thokku without onion, tomato thokku with onion, onion tomato chutney, garlic chutney, Raw onion chutney, Idli Podi/Gun powdergreen chutney without coconut based on your preference and store in an air tight box. It will stay good for a week. You can use these chutneys as side dish for idli, dosa, appam and roti or use it as sandwich spread too. I usually make onion tomato chutney and stock it for my daughter’s breakfast and lunch box. For roti, you can prepare side dishes like capsicum-tomato curry, tomato thokku, pickles and even jam for your kids.  You can even cook Dal for making dal tadka or dal curry and refrigerate for 3 days. If you love to have pasta, you can make white sauce & pasta sauce ahead and store them.
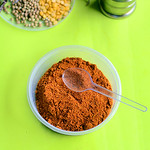
Check out my 50 chutney recipes for more ideas.

For quick lunch, you can prepare and store Pulikachal paste/Puliyogare paste, Lemon rice paste, coriander thokku, thogayal varieties, Vathakuzhambu paste and podi/powder varieties like Dal powder/Paruppu podi, Dhania/coriander seeds powder, Angaya podi, Sundakkai podi, Poondu podi/Garlic powder, coconut podi etc.

Kuzhambu varieties like vatha kuzhambu, poondu kuzhambu, milagu kuzhambu, kara kuzhambu, tomato gravy, brinjal gravy stays good for even 2 -3 days with or without refrigeration. So you can make them once or twice in a week apart from sambar and rasam.
Check out my 30+ kuzhambu varieties post to get the links for the above recipes.

READYMADE BREAKFAST MIX

Roast rava and keep in bulk. It will help you to make upma quickly. You can also make Rava/sooji upma mix, Poha mix, pongal mix, rice upma mix in advance and store in the freezer. It helps you to make your breakfast or dinner quickly and easily. Always keep a packet of bread in stock for making quick sandwich or toast.

CHOP THE VEGETABLES AND FREEZE

Vegetables like carrot, beans, peas, cauliflower, sweet corn, cluster beans, spinach, broad beans can be diced or chopped & frozen for a week.If you want to use the vegetable for the next day morning, you can simply refrigerate the chopped veggies. Do not freeze them. Usually I keep frozen peas and frozen corn always in stock. Grate 2 coconuts and store 3/4th of the quantity in a zip lock cover.Deep freeze it. Store the remaining coconut in refrigerator. Just thaw it for few minutes before use or use warm water to grind the coconut. Take the required quantity of coconut, refrigerate it and keep the remaining in freezer immediately. De-stem coriander, curry leaves and mint leaves and store in an air tight box. Mostly I use palak leaves during weekdays as it is easy for cleaning, chopping and cooking. During weekends, I buy other greens/Keerai varieties, clean them and store in a ziplock cover.Do not chop onions and store. It attracts more bacteria when its cut.
Apart from chopping veggies, you can make some lemon juice and store in a glass bottle, peel garlic cloves, Peel &finely chop ginger, peel small onions and keep them ready for usage. But remember to store the chopped vegetables in a clean zip lock cover and refrigerate.

COOK PUREES, PASTE & LENTILSCook toor dal or moong dal in large quantity and store in a box for 2-3 days use. You can use them and make sambar instantly. Soak beans like rajma,dried peas and chana for 8 hours and refrigerate them for later use. You can easily cook a quick meal like pulao,  biryani or gravies & even make a healthy salad with it. Sprout green gram and other legumes based on your liking and keep them in the freezer. So whenever you want to have some salad, you can semi cook and have them ready.
Grind and keep tomato puree, homemade tamarind paste, ginger-garlic paste, onion paste, sauce varieties ready in hand. You can also keep some readymade seasoning, green chilli paste.Some people keep some sauteed, browned onions too. I have seen some of my friends making onion-tomato puree adding masala powders and keep the base ready for making North Indian gravies. If you have enough time in hand, you can even make two to three varieties of curries and refrigerate them.
Vegetables like potato, cauliflower, sweet corn and peas can be boiled in advance and refrigerated for later use. You can even cook pasta and store them in the fridge.
Keep curd, buttermilk, paneer, cheese and other essential milk products ready in hand so that you can use it for raita, buttermilk/ Chaas, lassi, gravies and sandwich.

TO DO LIST
I have summarized the above points and shared a TO-DO list for weekend. Do this according to your preference and time in hand.
  1. Grind idli, dosa batter and other batters if grinding.
  2. Make chapathi/ roti dough.
  3. Soak pulses & lentils like rajma, chana/ kabuli, peas.
  4. Chop all the required vegetables. Make frozen peas and sweet corn.
  5. De stem green leaves/Spinach, coriander leaves, mint leaves and curry leaves.
  6. Cook toor dal and moong dal in large quantity for making sambar & dal for roti.
  7. Make Tamarind paste, Tomato puree, Puliyogare paste, Tomato thokku, homemade powders like dal powder, curry leaves powder, coriander leaves thokku, thogayal varieties, Lemon rice mix, Chutney varieties according to your choice. ( I have shared the links in the above sections. please check it)
  8. Make white sauce and pasta sauce for cooking pasta recipes.
  9. Prepare rava/sooji upma mix, poha mix, dosa mix, pongal mix.
  10. Make onion tomato base for North Indian gravies.
  11. Purchase week’s grocery and vegetables.
  12. House cleaning if needed Happy.
Friends,I  hope this post will be helpful to you. Thanks for visiting this page !!

الاثنين، 19 سبتمبر 2016

How To Cook Millets – Thinai, Varagu, Samai, Kuthiraivali, Kambu

How to cook millets 
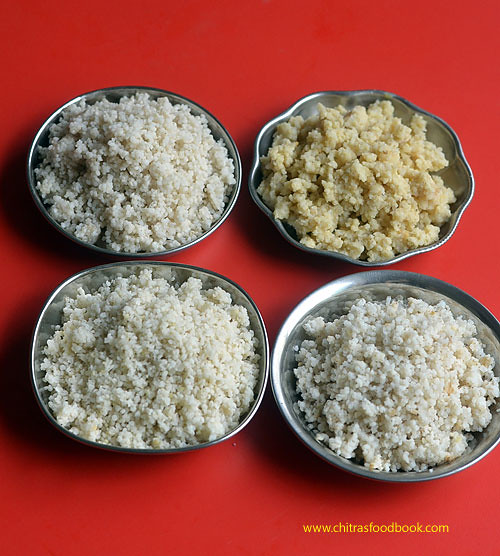
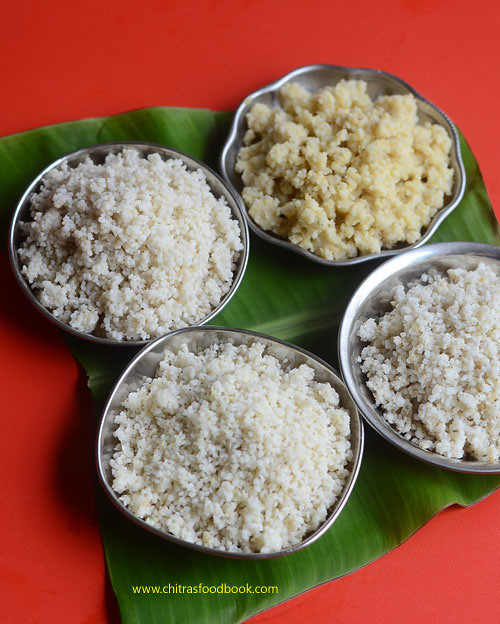
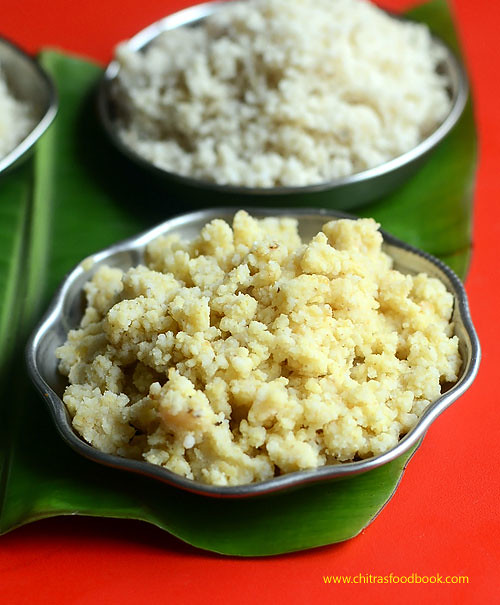
After a long time, I am making a post about Millets (Sirudhaniyam in Tamil). As we all know, Millets are a super healthy grain with loads of fiber, calcium, minerals & iron.People have started switching to millets and include it in their regular cooking as a replacement of rice for breakfast, dinner and lunch as well. Millet rice can be cooked on stove top( In a open pan), in a rice cooker, pressure cooker and even in microwave just like normal rice. But most of us are not sure about how to cook millet  perfectly in a fluffy way like pulao, biryani or for making Indian style recipes like Pongal, upma, porridge, koozh with a mushy texture. Its always confusing about the water ratio for different types of millet like Varagu arisi (Kodo millet), Samai (Little millet), Kuthiraivali (Barnyard millet), Thinai rice (Foxtail millet) and Kambu (Pearl millet). I have not discussed about Quinoa in this post. Quinoa and thinai are different millets.I will make a post on that separately. So in this post, I have shared how to cook Indian millet in 3 different ways i.e Open pan method, In a pressure cooker and in an electric rice cooker. Water quantity may vary based on the quality of millet. Some millet may need less water and some may need more. So please keep this post as a reference and do the trial and errorHappy .
Warning about millets
I would like to emphasize this point before going to this post. Even though, Millet is a super healthy food, one should consume it moderately based on their body. Over consumption may lead to indigestion, stomach bloating, loss of appetite, imbalanced thyroid levels. So please include different types of millet in your diet thrice or 4 times in a week. Do not consume the same millet repeatedly. Try to include varieties of millet in your cooking. I have heard people consuming millet for all the 3 times in their daily food just for weight loss by completely avoiding rice. Recently I read in an article that Millets would slow down the thyroid activity. So moderate consumption is advised for people with thyroid problems. In general ” Too much of anything is good for nothing”. So please consume it in moderate quantity and reap all it benefits. Maintain a healthy life style. This is my kind advice based on my own experience Happy.
For people who are new to millet, please check my “All about millet” post for a better understanding. 
How to cook millets in pressure cooker

Millets names in different languages

ENGLISH – Finger millet, Kodo millet, Pearl millet, Barnyard millet, Little millet, Foxtail millet
HINDI - Nachani /mundua, Koden/Kodra, Bajra, Jhangora, Kutki, Kangni/Rala 
TAMIL – Ragi, Varagu, Kambu, Kuthiraivali, Samai, Thinai
KANNADA – Ragi, Harka, Sajje, Oodalu, Saame, Navane
TELUGU – Ragula, Arikelu, Sajjalu, Odalu, Sama, Korra
MALAYALAM – Panjipullu, Koovaragu, Kambam, Kavada pullul, Chama, Thina

How to cook millets in different ways

How to cook millets in different ways

How to cook Millet


How to cook Millet How to cook different types of millet - Thinai rice, varagu rice,samai, kuthiravali and kambu
Cuisine: Indian
Category: Millet Recipes
Serves: Serves 2
Prep time: 5-30 Minutes
Cook time: 10 Minutes
Total time: 15-40 Minutes


INGREDIENTS
1 cup - 200ml
  • Varagu arisi (Kodo millet), Samai arisi (Little millet), Kuthiraivali ( Barnyard millet) - 1/2 cup
  • Water – 1.25 cups to 1.5 cups ( 1:2.5 to 1:3 ratio)
  • Cooking oil - few drops (optional)
For thinai & kambu, water quantity may vary. Soaking is needed.
  • Thinai rice( Foxtail millet) - 1/2 cup
  • Water - 1.5 cups
  • Kambu / Pearl millet – 1/2 cup
  • Water – 2 cups
For making pongal, bisibelebath, thick porridge : use 1: 5 ratio of millet & water and use pressure cooker.
For making pulao, biryani : use 1:2 or 1: 2.5 ratio of millet and water. It is better to cook in open pan to get fluffy rice.
METHOD

  • Try to buy unpolished millet because its healthier than polished ones. Wash the millet at least twice or thrice.Use a strainer or metal sieve with fine holes to filter it. Some millet may contain husk, dust particles or even small stones. So wash it well.
    HOW TO COOK VARAGU, SAMAI AND KUTHIRAVALI 
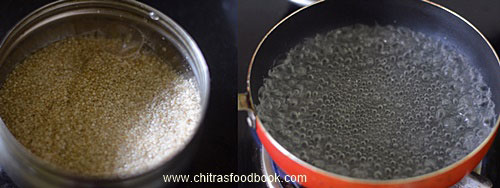
  • In Open pan : For 1/2 cup of varagu arisi, measure 1.25 cups of water ( 1:2.5 ratio). No need to soak in water. Heat water in a pan. When it starts to roll boil, simmer the flame completely.
 
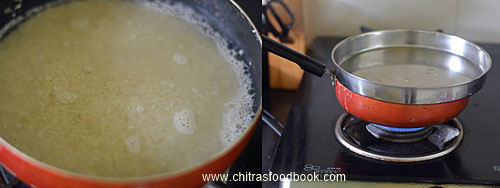
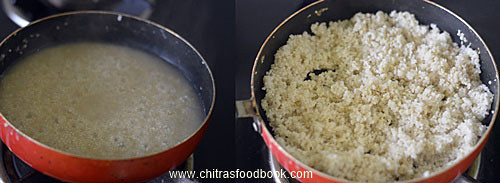
  • Add the washed and drained millet to the  boiling water. Lower the flame completely. Cover with a lid & cook for 5-7 minutes. Fluff it gently once in the middle using a fork. Cook till all the water is absorbed. Switch off the flame and keep it covered for 10 minutes.
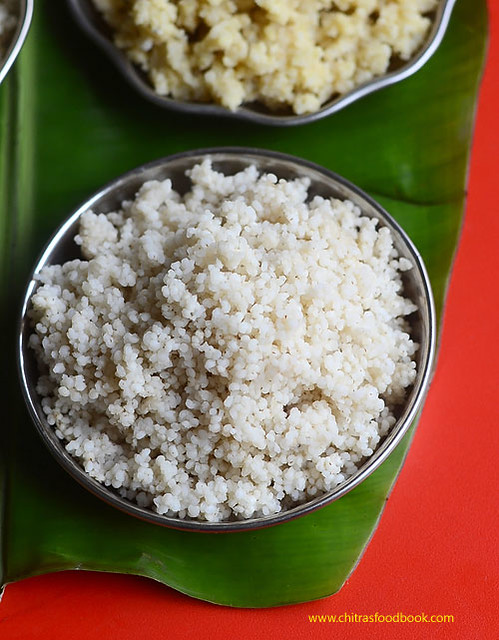
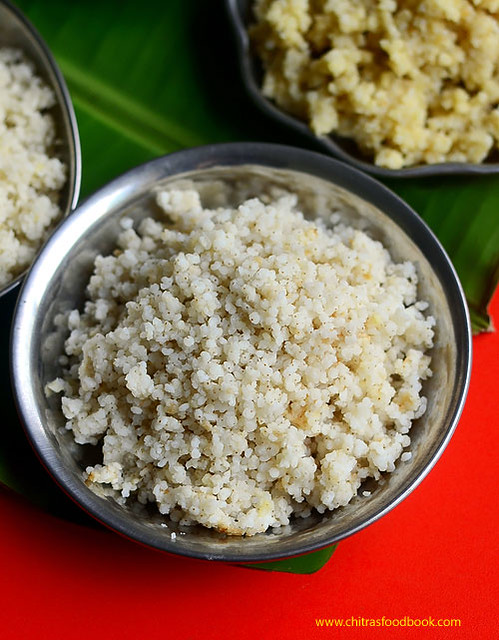
  • It will get cooked in the resting time and becomes fluffy.After 10 minutes, you can remove it and serve with any sambar or any kuzhambu OR use it for making variety rice. Enjoy !
How to cook in rice cooker : Wash 1/2 cup of millet and drain the excess water. Boil 1.5 cups of water and add the millet ( 1:3 ratio). Cook it till the lights turn to warm mode. Open the cooker & check if its cooked well. If not, add 1/2 cup more water and cook for some more time.
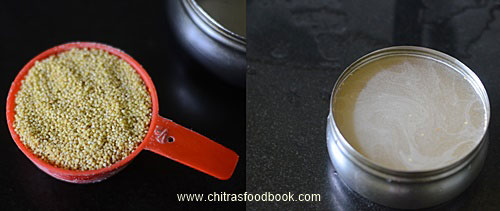
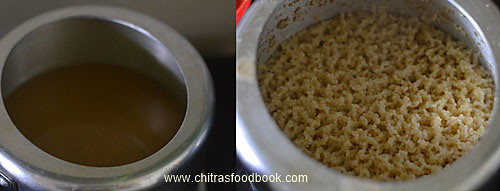
How to cook in Pressure cooker : For cooking in pressure cooker, wash the millet and drain the excess water. Heat a cooker base with 3 cups of water. In a cooker vessel, take 1/2 cup of varagu/ kodo millet, Kuthiravali/ barnyard millet and add 1.25 cups of water (1:2.5 ratio) . For Samai/ Little millet, add 1 cup of water ( 1:2 ratio). Add few drops of cooking oil if you need fluffy rice. Cover with the lid and pressure cook in very low flame for 2 whistles. Make sure flame should be the minimum. It takes nearly 5-7 minutes to cook. If not, cook for 5 minutes in low flame and switch off the flame. DO NOT COOK the millet directly in a cooker base. It may lead to burnt bottom layer. So its better and safe to cook millets by placing them inside a vessel.
If you are making pulao or biryani, you can directly cook it with spices and vegetables. In that case, add 1:2.5 water and keep an eye. Switch off after cooking for 6-7 minutes in very low flame. Open the cooker after the steam is released.
HOW TO COOK THINAI/ FOXTAIL MILLET
  • In a open pan : Wash the foxtail millet twice to remove the dust. Soak it for minimum 30 minutes. For 1/2 cup of thinai/ foxtail millet, heat 1.5 cups of water. When the water starts to roll boil, add the soaked thinai. Mix well and add a few drops of cooking oil. Cover and cook till all the water is absorbed. Toss it once or twice in the middle. Actually thinai takes long time to cook than other millets. So keep checking for the water content and add 1/4 cup more only if needed.
  • In a rice cooker : Wash 1/2 cup of foxtail millet and drain the excess water.Soak it for an hour. Boil 1.5 cups of water and add the millet. Cook it till the lights turn to warm mode. Open the cooker & check if its cooked well. If not, add 1/2 cup more water and cook for some more time. How to cook in Pressure cooker : For cooking in pressure cooker, wash the millet and drain the excess water. Heat a cooker base with 1.5 cups of water for 1/2 cup of thinai. Let the water roll boil. Add the washed millet, few drops of cooking oil and mix well. Cover with the lid and pressure cook in very low flame just for one whistle. Make sure flame should be the minimum. It takes nearly 5-7 minutes to cook. If not, cook for 5 minutes in low flame and switch off the flame. Cooking for longer time burns the bottom layer. So keep an eye.
How to cook thinai
How to cook thinai
  • HOW TO COOK KAMBU/ PEARL MILLET : Wash the kambu well. Soak in water for 30 minutes. Drain the excess water and spread in a cloth. Let it dry for 5 minutes. Grind it coarsely in a mixie to remove the husk. Sieve it well. Boil 2 cups of water for 1 cup of kambu. When the water starts to roll boil, add the kambu, mix well without lumps and cook till all the water is absorbed. Cover & cook it. Kambu cannot be cooked fluffy. It comes out mushy in texture.
  • In pressure cooker : Take 3 cups of water in a pressure cooker for 1 cup of kambu. Cook for one whistle in low flame or 3 whistles in medium flame.
Enjoy with sambar, kootu and poriyal !
How to cook millet


Note
  • The quantity of water may vary. +/- 1/2 cup difference may be there.
  • Cooking time may vary for the cooker and open pan method. So keep an eye if you are cooking for the first time.

MILLET RECIPES