My experience cooking Thai food is relatively recent, but since I started experimenting
a few years ago it has probably become my favorite cuisine — aside, of course, from Indian. I find the unique fragrances and flavors of Thai ingredients — coconut, lemongrass, galangal and, of course, chilies — quite irresistible, as well as being easy to combine with all sorts of vegetables to make healthy and delicious meals.
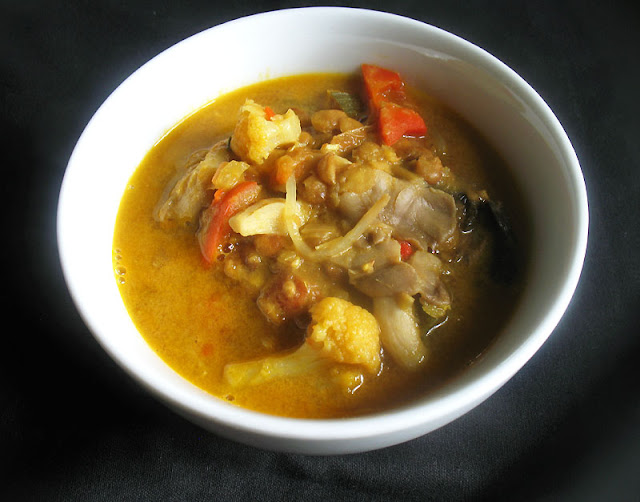
I've lately been making an effort to incorporate even more vegetables into my meals, and the presence of part of a head of cauliflower and some homemade
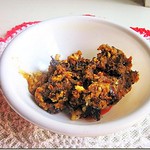
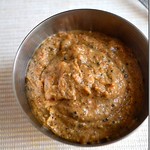
Thai green curry paste in my refrigerator led naturally enough to a Thai-style vegetable soup. With the addition of earthy green lentils, tangy tomatoes, red peppers, bean sprouts, plump oyster mushrooms — also an essential of Thai cooking, in my humble opinion; coconut milk, tamari sauce and an assortment of spices, the result was a creamy, fragrant, hearty and nourishing soup that made the best of a blending of Thai and other south Asian cuisines. Each bowl — and in fact each spoonful — was a wonderful contrast in seasonings and textures that made it a big hit with me, my husband and my best friend Basil.

 Thai-Style Creamy Coconut Lentil Mushroom Soup Thai-Style Creamy Coconut Lentil Mushroom Soup |
Recipe by Lisa Turner
Cuisine: Thai
Published on October 27. 2014
A creamy, fragrant, hearty and nourishing vegetable, mushroom and lentil soup with coconut milk and Thai and south Asian seasonings
Ingredients:
- 1/2 oz (14 g) dried mixed mushrooms
- 2 tablespoons coconut oil or sesame oil
- 5 green onions, white and green parts, sliced and separated
- 1 cup cauliflower, trimmed and cut into bite size pieces
- 1 clove garlic, minced or crushed
- 1-inch piece ginger, minced or grated
- 3 Thai or red cayenne chilies, seeded and finely chopped
- 2 teaspoons ground cumin
- 1 teaspoon ground coriander
- 1 teaspoon paprika
- 1/2 teaspoon turmeric
- 2 to 3 tablespoons Thai green curry paste, to taste
- 2 large tomatoes, chopped
- 14 oz (400 mL) can coconut milk
- 3 to 4 cups vegetable stock or water
- 1 cup green lentils
- 3 lemongrass stalks, trimmed, cut into quarters and slit lengthwise
- 1 tablespoon tamari (soy) sauce
- 8 oz (225 g) oyster mushrooms, roughly chopped
- 3 red bell peppers, seeded and chopped
- small handful of bean sprouts
- 1 1/2 teaspoons sea salt, or to taste
- fresh ground black pepper
- juice from 1 lime (2 tablespoons)
Instructions:
Soak the dried mushrooms in 1 1/4 cups of hot water for 30 minutes. Drain, reserving the soaking water, and roughly chop the mushrooms. Set aside. Heat the oil in a large saucepan or soup pot over medium heat. When hot, add the white parts of the green onion to the pan along with the cauliflower. Stir for 5 to 7 minutes, until the onion has softened and the cauliflower begins to brown a little. Add the garlic, ginger, chilies and spices to the pan. Stir for a minute or two. Add the Thai green curry paste, stir once, and then add the tomatoes. Cook for another few minutes to slightly reduce the tomatoes. Pour in the coconut milk, 3 cups stock or water, lemongrass, the reserved mushroom soaking water, and the lentils. Bring to a boil, reduce the heat to medium low, cover, and simmer until the lentils are tender — about 25 minutes. Now add the tamari, green parts of the green onion, dried and fresh mushrooms, red pepper and bean sprouts. Simmer for another 10 to 15 minutes, adding a up to 1 cup more stock or water as necessary to achieve your desired consistency. Season with salt and pepper to taste and stir in the lime juice. Cook for another few minutes and discard the lemongrass pieces. Serve hot, alongside a bed of fresh cooked white jasmine rice.
Makes 6 servings |
Other Thai soups from Lisa's Vegetarian Kitchen:
Thai Red Curry Vegetable SoupThai Coconut Mushroom Soup with Kidney BeansCreamy Thai Coconut Mushroom SoupThai Red Curry Tempeh SoupOn the top of the reading stack:
Plenty More
by Yotam Ottolenghi
Audio Accompaniment: Marsen Jules


 .
. 


 Print this recipe

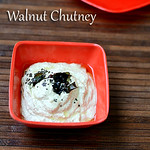
 .I bought them in a small shop in Lee bazaar,Salem just by seeing its different shapes & color.


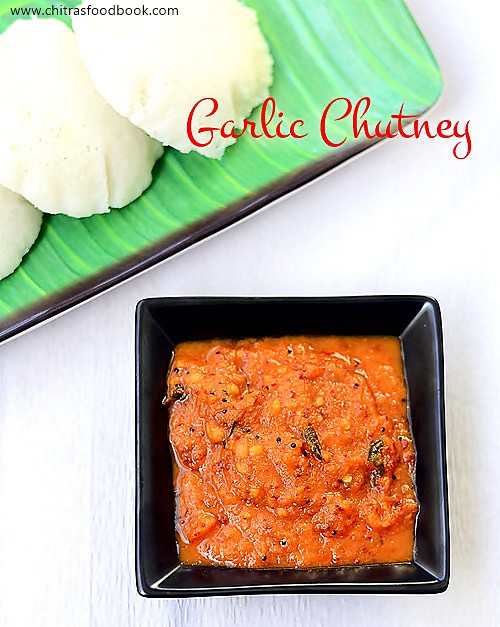
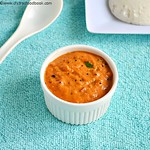
 . Basically I love making different & tasty side dish for idli and dosa.And my search ended up with 48 chutney recipes here